Launch Vowen from the Start menu or desktop shortcut
Windows may show a “Windows protected your PC” warning since the app is not yet code-signed. Click “More info” then “Run anyway” to proceed. A portable build is also available if you would rather not install.
Full details, including system requirements and the portable build, are on the Installation page.
The first launch opens a setup flow with 11 steps. Most of them are demos you can click straight past. Two of them are gates you cannot get around.
1
Welcome
An introduction. There is a theme toggle in the corner if you want light mode before you go any further.
The first screen of the setup flow. The dots along the top track your progress through all eleven steps.
2
Your details
Vowen asks for your name and email.
A name is required. It has to be at least two characters, and the step will not advance without one. The email field is optional. Vowen uses your name to personalise later steps and to sign text expansions.
3
Privacy
A short summary of how Vowen handles your data, with a link to the privacy policy. Click Continue.
4
Permissions (gate)
You cannot continue until the required permissions are granted.
macOS: both Microphone and Accessibility
Windows: Microphone only
Each row shows live status and a button that opens the right pane of System Settings. See Permissions if a grant does not take.
The permissions step is a hard gate. Continue stays unavailable until the required permissions are granted.
5
Download a model (gate)
Vowen offers exactly two transcription models here:
Model
Languages
Parakeet V2
English only
Recommended
Parakeet V3
25 European languages
This step cannot be skipped. The Continue button does not exist until the model is downloaded and installed. Until then the only button on the screen is Download. Vowen needs a transcription engine to be useful at all.
You can download more models later, and switch to a cloud engine, from Speech models in the sidebar.
The second hard gate. Continue only appears once a transcription model has finished installing.
6
Try it out
A live practice field. Hold your shortcut, speak, and watch the text land. This is the first time the hotkey actually runs.
The try-it-out step walks you through your first dictation before you reach the main window.
7
Voice Shortcuts
A demo of voice-triggered automations, like opening an app or a website by saying so.
8
Text expansions
A demo of typed triggers that expand into blocks of text. Try :ooo, :sign, or :addr in the practice field.
9
Threads
A demo of replacement rules that map a spoken phrase to fixed text, like turning “my phone number” into the actual digits.
10
Command Mode
A demo of giving voice instructions to AI, rather than dictating text.
11
Notes
A short introduction to Meeting Notes. Finishing this step ends the setup flow and opens the main window.
How the flow behaves:
It is resumable. Your position is saved after every step. If you quit halfway, you come back to the step you were on.
There is a Back button on every step except the first.
There is no forward skip. Steps only advance by finishing them. The demo steps have a Continue button; the two gates do not, until their condition is met.
Want a different setup? Pick your own shortcut, add a hands-free toggle, or use a mouse button. See patterns like promoting push-to-talk into hands-free without lifting a finger.
2
Speak
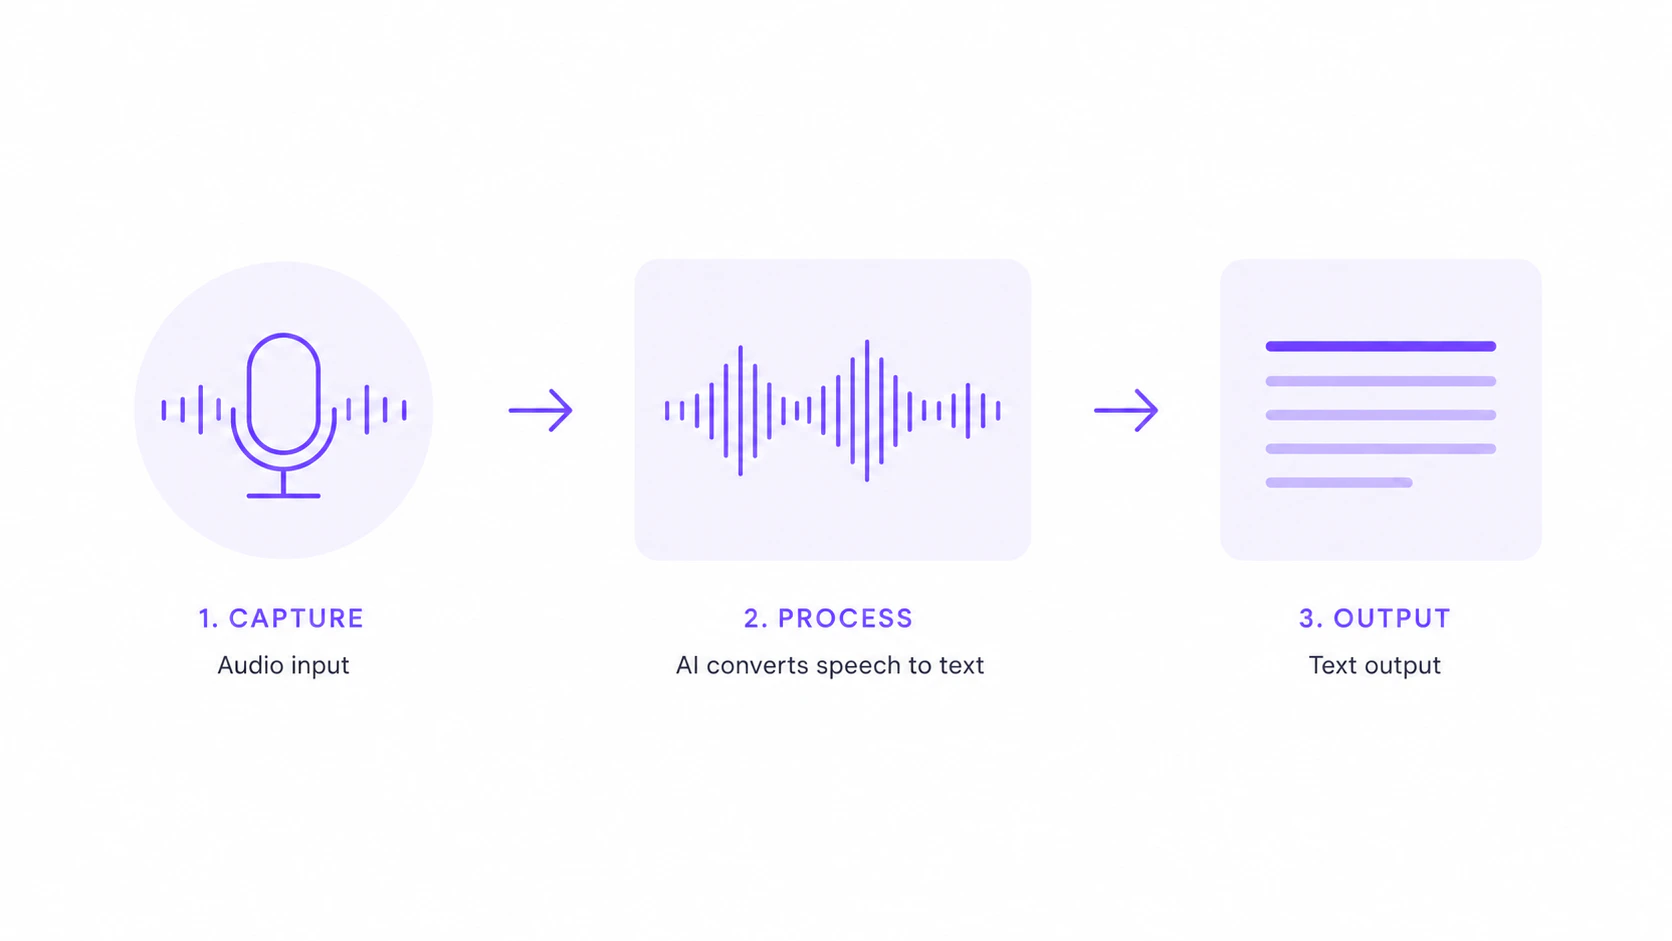
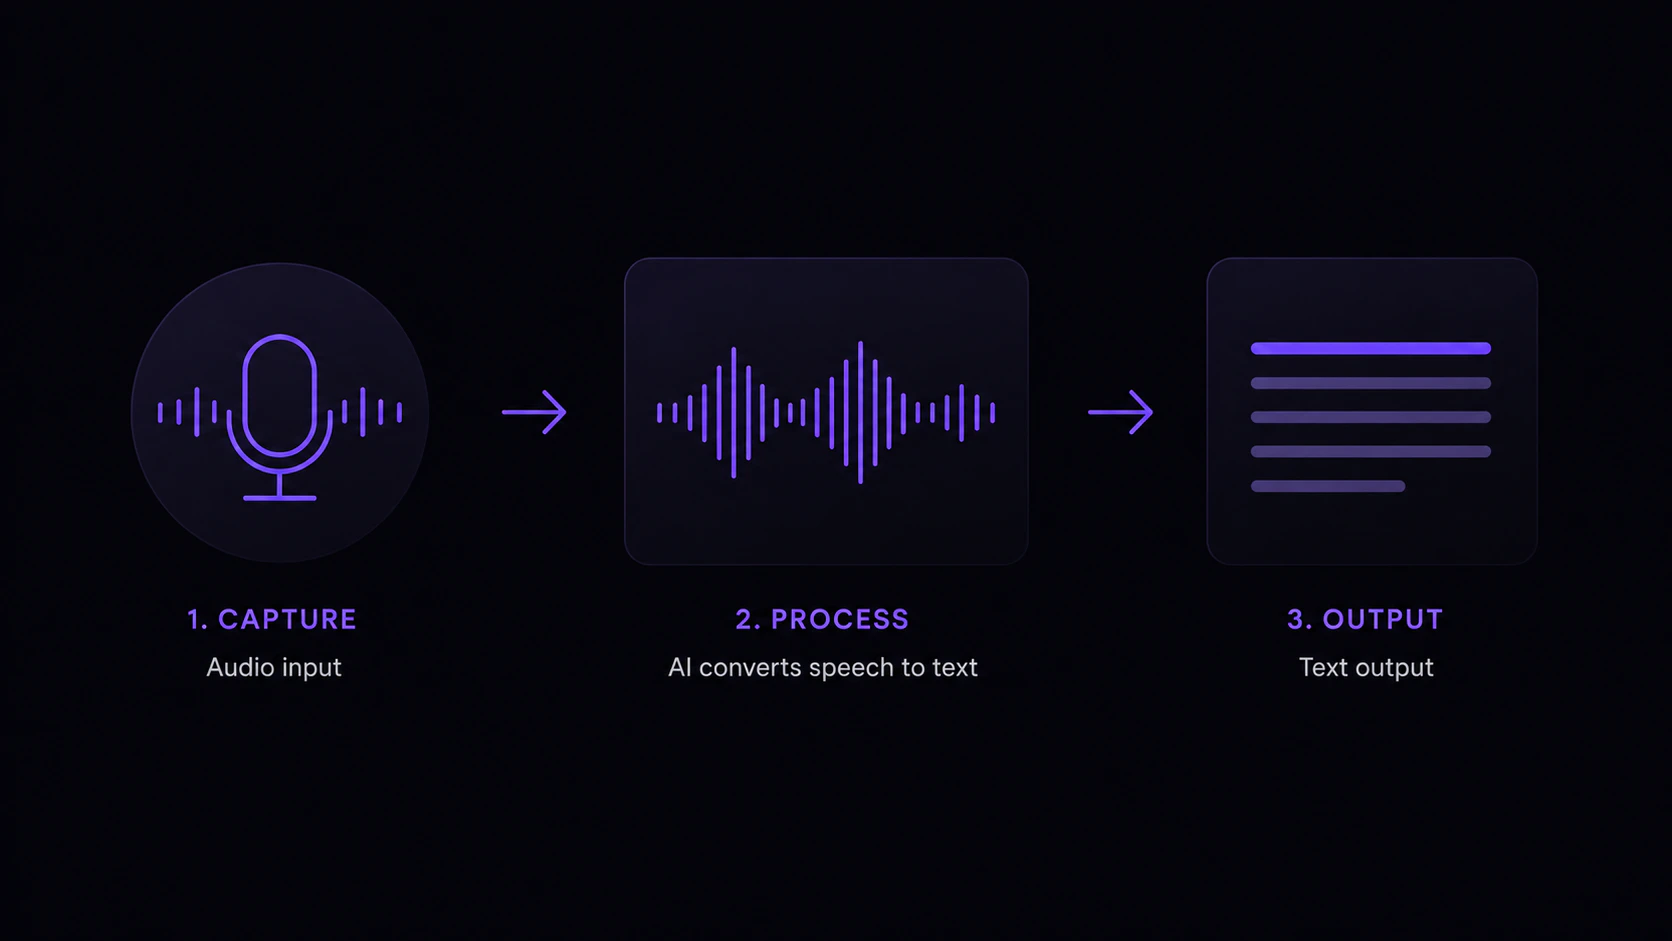
Say whatever you want transcribed. Speak naturally. Vowen handles filler words and formatting.
3
Release
Let go of the shortcut. Your transcribed text is pasted into whatever app has focus.
While you hold the shortcut, this pill floats at the top of your screen. The waveform moves with your voice, so you can see Vowen is hearing you.
You’re now controlling your computer with your voice.
After setup, a small pill sits in the bottom-right corner of the main window with a progress ring and a “Get started” label. Click it to open the checklist. Six steps:
Step
Counts as done when
Dictate for the first time
You have completed at least one dictation
Connect an AI provider
An AI provider is connected and, for CLI providers, actually chosen
Create a voice shortcut
You have created a voice shortcut of your own
Add words to your dictionary
Your dictionary has at least one entry
Create a text expansion
You have created an expansion of your own
Record a meeting note
You have at least one saved meeting note
Clicking a row navigates to the page where you do that thing. Rows never tick themselves from the checklist.Two details about the checklist:
Completion is a one-way latch. Once a step is marked done it stays done, even if you later delete the voice shortcut or clear your history. The checklist is a first-run guide, not a live dashboard.
It retires itself. At six of six the widget disappears for good. The × button only collapses the panel; it does not dismiss the widget.
The built-in :date and :time expansions do not count towards the expansion step, and the voice shortcuts Vowen ships with do not count towards the voice shortcut step. You have to make your own.
Everything in this quickstart is free. Vowen also has a Pro plan that lifts caps on Command Mode, Tones, Memory, Voice Shortcuts, and Manual Transcriptions, and unlocks features like Speaker Diarization, Real-time Preview, Auto-translation, and Cloud Sync.
Want polished output without effort? Connect an AI provider (Groq, Gemini, OpenAI, Anthropic, and more) and Vowen will:
Fix grammar and punctuation while keeping your voice intact
Convert spoken numbers to digits (“three thousand” becomes “3000”)
Format lists, emails, and phone numbers automatically
Apply spoken commands (“new paragraph”, “make this a bullet list”)